
The
Bark Canoe Store
Shop Address:
15 East Sinto
Spokane, WA 99202
Mailing Address:
1111 West 10th Avenue
Spokane, WA 99204
(509)327-7902
(office voice & fax)
(509)327-1850 (shop)
barkcanoe@earthlink.net
www.barkcanoe.com
John Lindman
proprietor/builder
Copyright (c) 2007
All Rights Reserved
IN THIS ISSUE
1. News
- The Bark Canoe Store is Expanding
- Photo Time
2. Tech Tip - More on Miniatures from Ted Behne,
News -
The Bark Canoe Store is Expanding
We're just wrapping up a little expansion here on the shop. It's still cozy but the ceilings are high and I like high ceilings. Next issue I will give you a tour.
Fiberglass Replica Update - We now have a mold for the 14/15ft models. This is an awesome little solo canoe. If you are the kind of person who does most of your paddling solo and want to slip in and out of tight spots whether hunting, trapping, or touring this is a honey. With the new infusion bagging that we are now doing, this sweet heart only weighs 35 lbs! And on top of all of that, if you are on a tight budget you can pick up our new economy version and finish it yourself for only $1200!! So why would anyone want to haul around a big clunky aluminum tub that all the fish and game can hear from clear across the lake and see as the sun reflects off of it when you can paddle this slick little buttercup for only $1200? It's time to decorate the lakes and rivers with something sexy don't you think?
Photos
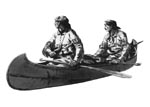
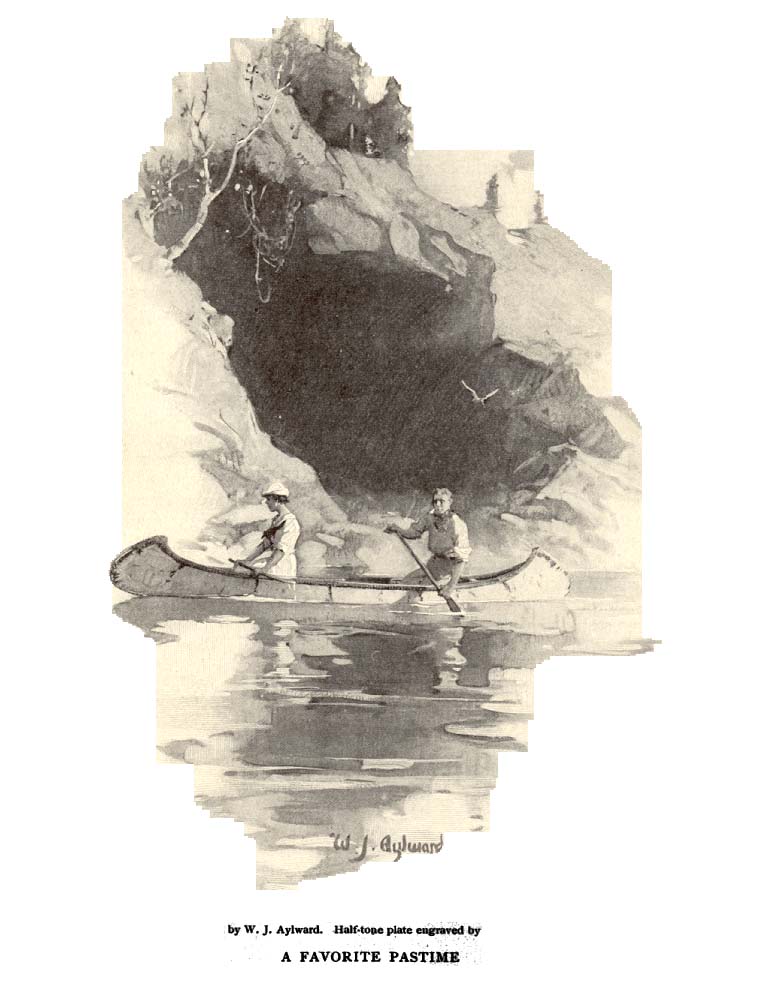
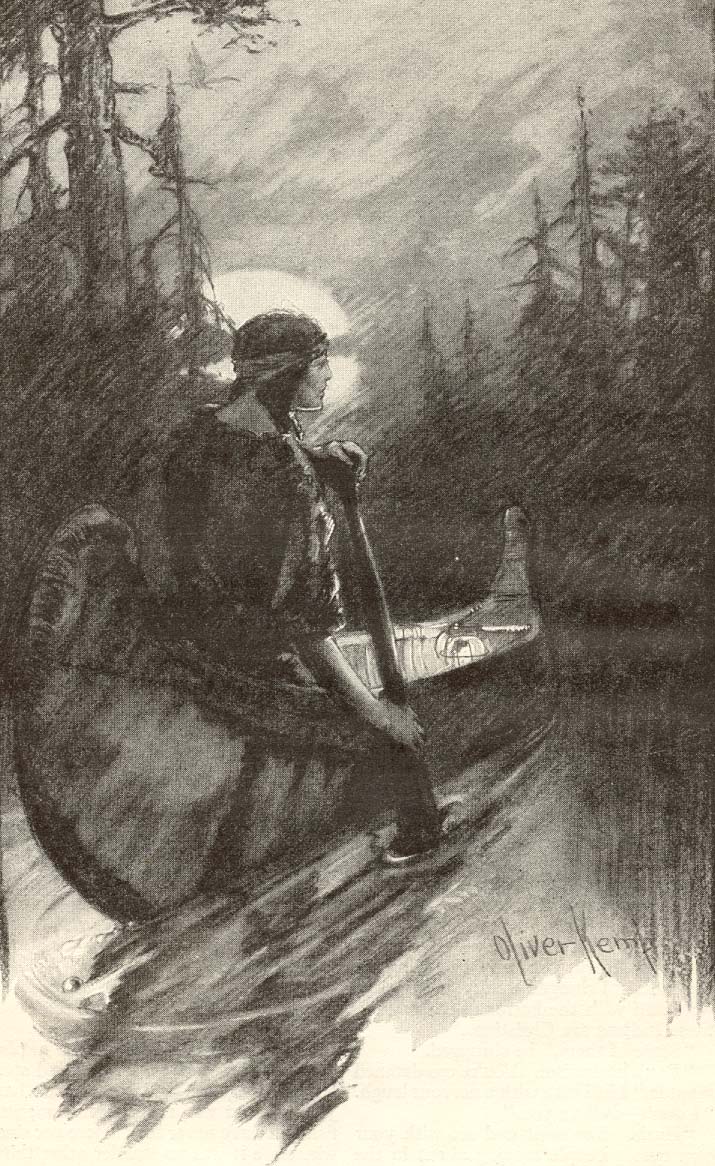
I want to give you a Christmas present. I hope you like pictures. These are from magazines of 80 to 100 years ago. I hope you enjoy them and that Santa brings you what you want. For more information about Frank Schoonover prints go to http://schoonoverfund.com/cfm/V_userIndexView.cfm
Artist - Frank Schoonover
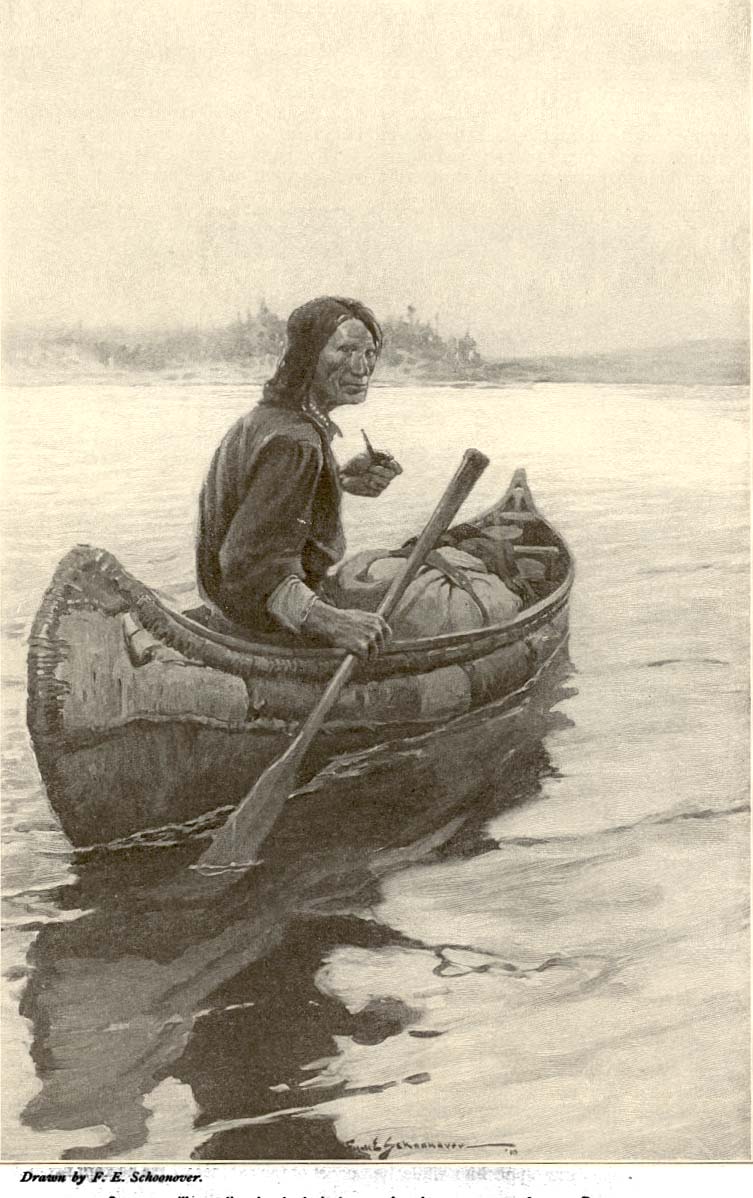
Artist - Frank Schoonover
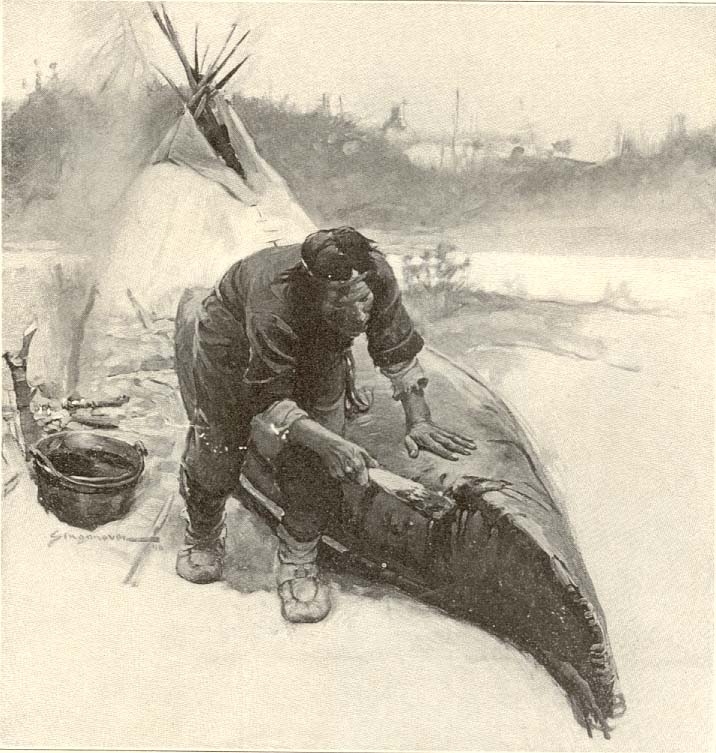
Artist - Frank Schoonover
Building Tip - More on Miniatures by Ted Behne
Pegging and Lashing the Gunwales
This article continues the assembly process by permanently setting the sheerline of the canoe with hardwood pegs and
lashings along the length of the gunwales. Previous articles outlined other basic steps. These include: Selecting a
canoe to model; making a quarter-scale “blueprint”; constructing a reusable building platform; making a gunwale frame;
making and installing thwarts; making ribs; splitting cedar; splitting spruce roots for lashings; making sheathing to
line the interior of the hull; unrolling and raising the bark and setting the sheerline. To review previous articles,
go to www.barkcanoe.com/home.htm. Then select “Tips,” then “Building Miniature Canoes.” Required tools for pegging
and lashing the gunwales: about 50 standard-size clothespins; a hand drill with a 5/64” drill bit; one box of round
toothpicks; one pair of needle-nose pliers; one 1/8” diameter awl to punch holes in the bark; one razor knife.
After the sheerline has been established, with the sheering posts under each thwart and the gunwales held in position
by a series of clothespins, you are ready to begin locking the sheerline in place permanently. Double check to be sure
the bark is pulled up tightly and evenly on both sides and that all gores form smooth joints with no gaps.
Begin by drilling holes through the outwale/bark/inwale assembly, each hole centered between each marked lashing
interval. Then force tapered hardwood pegs into the holes. The holes should be made with a 5/64” drill bit. The
hardwood pegs can be easily made by breaking a round toothpick into two halves, each with tapered ends. Using a pair
of needle-nose pliers, force the tapered end of the toothpick into the pre-drilled hole until you feel strong resistance.
Slice off both ends of the peg flush with the gunwales. Repeat the process until all the spaces between lashing intervals
have been pegged. The sheerline of the canoe is now permanently set. The sheering posts can now be removed from beneath
the thwarts and the two halves of the building frame can now be removed. The rough, canoe-shaped hull also can be removed
from the building bed for more convenient access while lashing the gunwales.
Next comes the tedious, time-consuming but important process of lashing the gunwales. The lashings are both functional
and decorative. They hold the inwale-bark-outwale assembly together and they are also pleasing to the eye as they march
in regular intervals along the sheerline from stem to stem. Begin near the center thwart and work toward each end,
covering each marked lashing interval with spiraled loops of spruce root. A typical canoe model will have about 80+
lashings, with each lashing taking up to five minutes to complete. Do the math and you will find that the entire process
can take 7-8 hours.
There are as many different styles of lashings as there are canoe makers. One basic method follows. Begin by making
three holes in the bark under the outwale, one under each edge of the marked lashing interval and one centered between
the other two. Wedge a knife blade into the small gap between the outwale and the bark just large enough to force the
end of a root into the space, flat side facing away from the bark. Bend the root around the outwale, flat side down, and
put the sharpened opposite end of the root through the left hole in the bark. Pull lightly until the root is tightly
wrapped around both the inwale and outwale, flat side down. Then, maintaining tension with one hand, put the end of the
root through the same hole again, enlarging it if necessary with the awl. Wrap the root around the inwale as before, but
on the second turn only, position the second wrapping to the left of the first. Continue by inserting the root tip into
the second hole in the bark and positioning the root to the right of the first wrapping. Continue until each hole has
been filled at least twice and the marked lashing interval has been covered completely with root lashings. End the
lashing by running the tip of the root under the last right hand wrapping toward the center of the lashing. Tighten the
lashing and pull back toward the middle of the canoe to lock the root in place. To fit the tip of the root under the last
wrapping, you will need to delay tightening the last wrapping until the root tip is fitted underneath. After the root tip
has been positioned and pulled tight, carefully trim the root end with a razor knife.
Continue the lashings until all marked intervals on the gunwales have been filled with root lashings.
Next, we will make the stem pieces and lash them in place. That process will be described in next month’s newsletter.
If you have questions about any of the above, just send an email to tedbehne@comcast.net.
To remove yourself from this list, simply reply to this email with the word "REMOVE" in the subject.
------------------------------------------------------------------------------------------